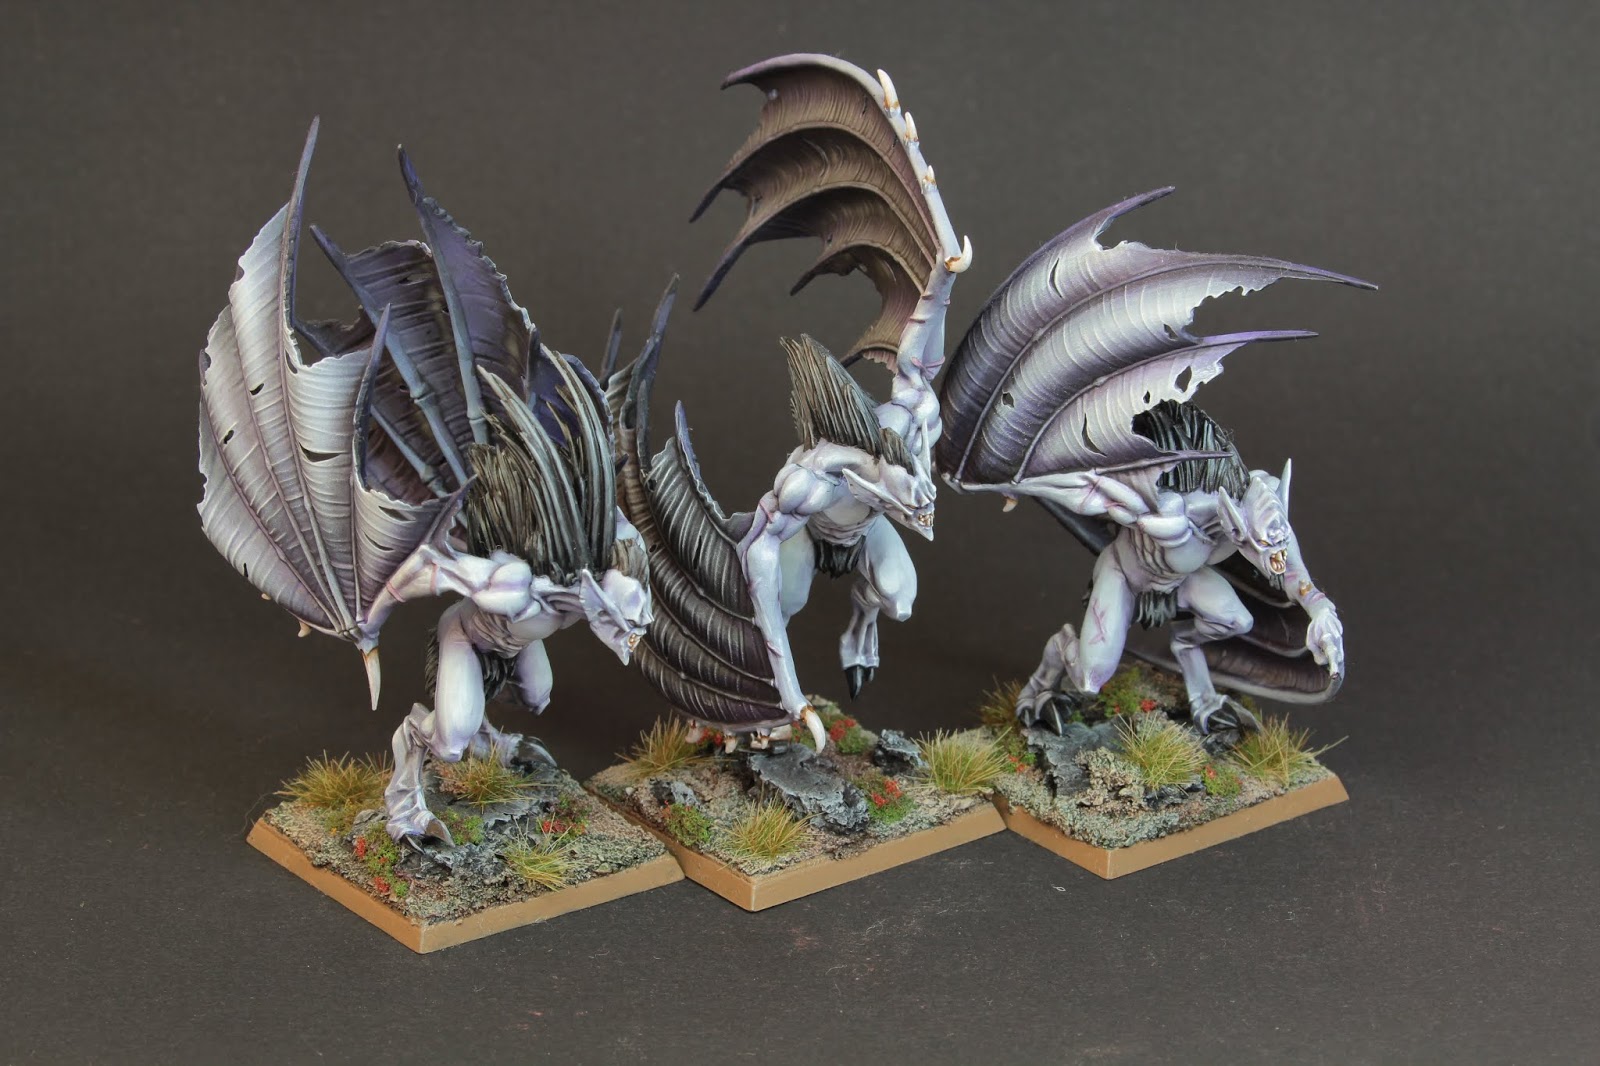
23 May 2019

Iz'ldra - Primaris Dreadnought of the Salamanders

While I still have more dwarves to share I thought it would be nice to break up the posts with the other bits I've been working on.

A while back I won a painting competition in my local Games Workshop, and the prize was a primaris dreadnought sprayed gold(ish). While it was nice to have a trophy to commemorate it, I decided pretty quickly that since it was a model I was going to paint it. It took me a while to decide on a chapter but I eventually decided I'd like to paint some green so went with Salamanders. Here's the result:


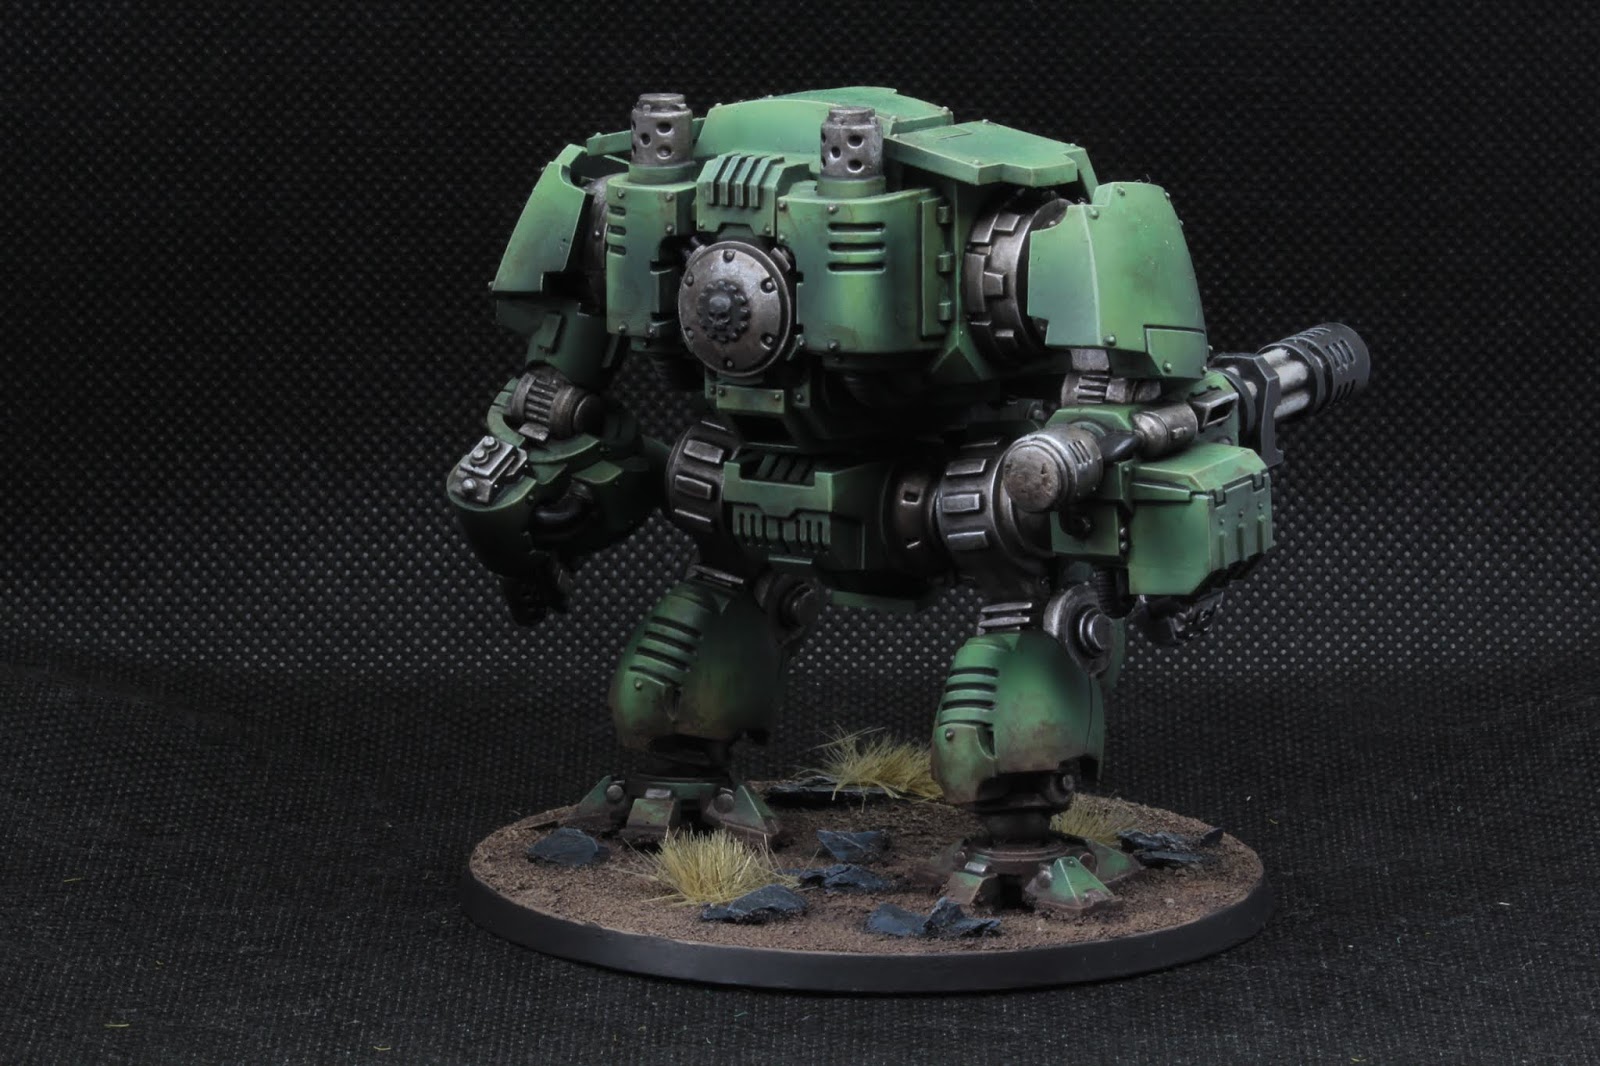


Normally, I like to paint models this big in sub-assemblies. As I received this guy already built I found getting to some parts a challenge, especially when cleaning mould-lines and where he had been clipped from sprue. Because of this, and because I'm really coming to appreciate a grittier look to 40k models, I decided to make him pretty dirty. When the whole thing was painted I went over it with patches of Agrax Earthshade and built up mud and dust around the lower parts and, really, wherever I felt like it. This covered up a couple of building mistakes as well as some spatter from my airbrush, while also giving some variation to the model that would otherwise be lacking.

As a gaming piece I think you'll agree he came out very well. I've decided I really like painting dreadnoughts and can't wait to try another one, maybe this time in Blood Angels colours.

Next up will be more dwarves, but until then, happy painting! 

20 May 2019

Return of the Slapdash Dwarves!

Some of you might have thought my slapdash army project forgotten, but we dwarves have long memories...

Welcome to another instalment of my speedily (and somewhat messily) painted dwarf army. Though it's been a while since I've posted any, they are very much an active project and are currently my most complete army! Over the next little while I will be dusting off those models I have neglected to take photos of and remedying that with my new photobooth.

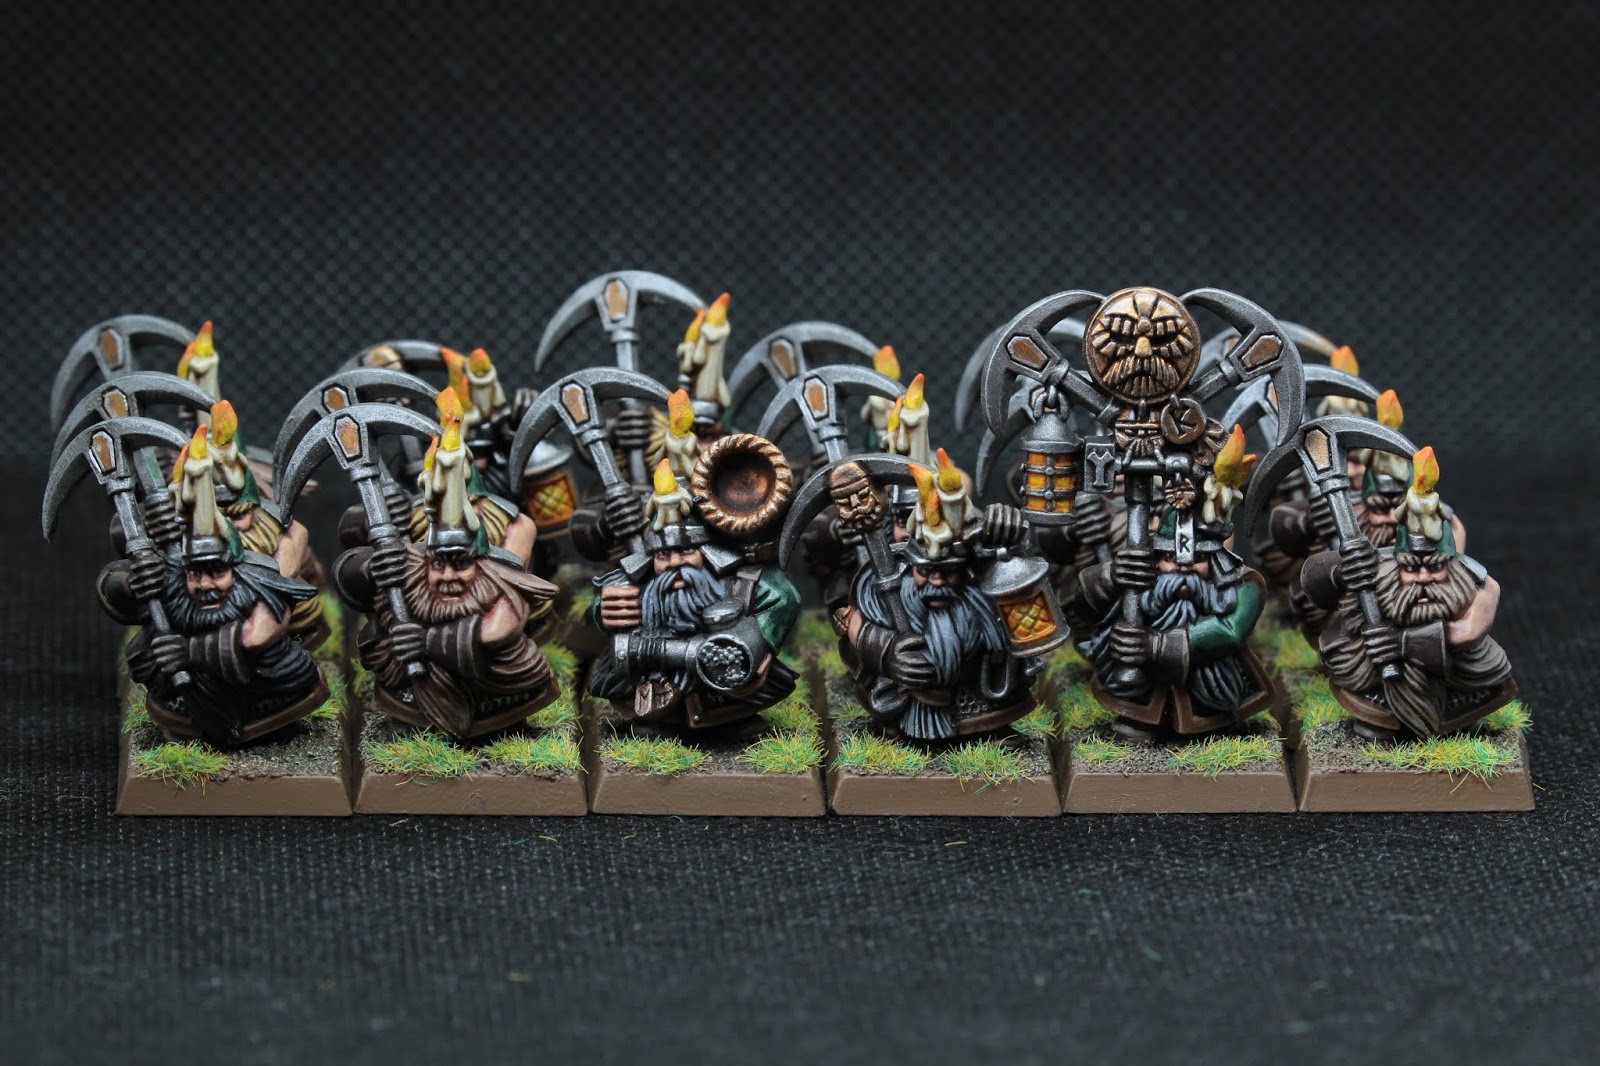
To begin, here are my slapdash miners:


I loved painting these guys, especially the candles which make them really stand out from the rest of the army. The old Battle for Skull Pass set had so much character - despite the limitations I have a weakness for simple, mono-pose models like those dwarves and goblins. Somehow I have 18 of them with a command (and a second champion model pretending to be an ordinary miner near the back!) but I'm not quite sure how, as I thought I only ever had two sets of them (they came as a unit of 8 in the box - 5 regular and 3 command).

As I said, my dwarves are my most complete army right now. The only models I own that I have yet to paint are a unit of slayers, two war machines, and my characters. I hope to have the slayers and warmachines finished by the end of the summer, but the characters will take a little longer - they're a collection of metal models from various eras and I'd like to do them justice, even if it means they don't quite match the slapdash theme of the rest of the army.

Until next time, happy painting!

17 May 2019

Photobooth Phun!

Hi all!

This blog is picking up steam again and you can expect a flood of pictures over the next couple of weeks (then a lull as I'll be away for a fortnight, then back to flooding) - for this you can thank my new photobooth:


Previously, taking photographs meant waiting for a bit of good light from the window, getting out my old painting lamp, setting it up with my current lamp to provide multiple lighting angles, fetching the lid of one of my storage boxes and taping a big piece of black paper to it as a background, then getting the models/camera and taking the pictures - needless to say it was a hassle and because of it I put off taking a lot of photos which have yet to appear on this blog. With the arrival of my new photobooth, all that's about to change.

It's just a cheap model I bought on Amazon. I had a giftcard to amazon.de and didn't really know what to do with it, when I remembered I've been meaning to give one of these a go for a while. I was a bit sceptical given its price, but I'm delighted with the result. Here you can see a photo taken with the booth:


And comparing to my old method:


Despite the first photo being a little out of focus (I could go and retake it but what really matters is the lighting so I won't right now) you can see the light is really pretty good. I was very afraid it would be too bright and would wash out my models, as when I first turned it on it was blinding, but a little DIY softened that up a good bit. If you look carefully in the first photo you can see where I've taped some folded baking paper over the led strip to reduce and diffuse the light hitting the models (I did something similar with my old method). It gives me the effect I want but I am going to toy around with the number of layers to get the brightness I want in future.

The booth is plastic and light, but doesn't feel easy to break (although if you put some effort into it you could bend it out of shape and would have to bend it back). It folds flat if you need to store it and when set up clips together with little metal stud clips at the top and bottom. There are two led strips on top - one at the front and one at the back - and they are bright! The power cable has two micro USBs which connect to the two strips (although if for some reason you only wanted to connect one you can do that, too) and a standard USB to connect to a laptop or adaptor for power (actually I haven't tried it with my laptop, so maybe that wouldn't work). There is also a hole in the top (with a flap) whose purpose I have yet to divine but it doesn't seem that important to me. It's basic, but it's functional.

There are, however, some minor drawbacks worth mentioning:

  • I really don't like the cloth backdrop - the pattern is the worst part and it's going to have to be replaced, but as the cloths (they come with a few colours) are designed to be interchangeable that shouldn't be a problem, I just need to source a nice backdrop and tape it in
  • The power cable is a USB and it's not very long - again, not a huge issue as I can use my phone charger to plug it into the wall, but as my extension cable was borrowed for another fixture in the house right now it means it limits where I can place it (luckily it just reaches the edge of my painting table)
  • The led strips heat up a lot - I'm not sure if this is going to be a real problem, but it's something to keep an eye on, as I don't want the plastic frame melting or the paper I've stuck to it catching fire
  • Its small size, while convenient for setting up next to where I'm painting, is a drawback when photographing large models and units - for these I'll probably have to revert to my old method

Overall though I'm extremely pleased for the small investment it was and I look forward to taking lots more photos with it, some of which you will see very soon.

Until then, happy painting!