Have you ever wanted to spend more time painting bone? Have you ever thought, "Jeez, drybrushing is too quick and easy - I wish I could spend even more time painting rank after rank of skeletons"? Well you're in luck. This is my recipe for painting my Vampire Covenant (also known as Ye Olde Vampire Counts) and it is one of if not the slowest way to painting such a basic model.
Just to be clear, I am not saying you should paint your skeletons this way. It is very, very time consuming, and skeletons usually come in units of forty or more, so you'll lose a lot of hours if you follow this recipe. You can achieve results just as nice in a fraction of the time by drybrushing. I just like the effect I can achieve by layering and don't mind putting in weeks of work for a core unit with no frills. I also really hate drybrushing.
I know - I'm mad. I've made my peace with it.
Anyway, this is how I do it.
(Step 0: Undercoat white. I discovered I prefer GW's white spray to airbrushing a white undercoat. For whatever reason airbrushed white undercoat wouldn't stick very well to the model.)
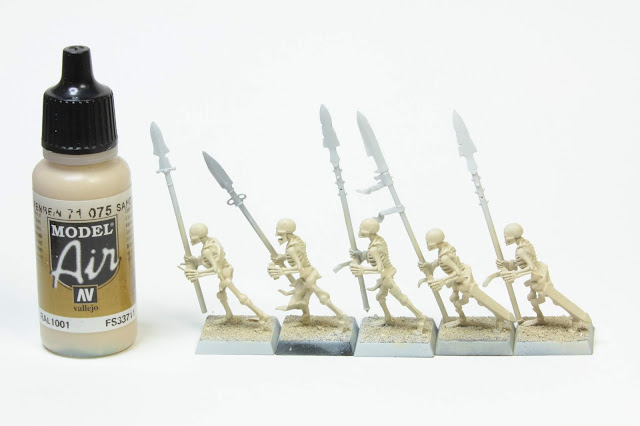
Step 1: Basecoat the bone in Vallejo Model Air Sand. This is the most painless step thanks to the airbrush - honestly I would get one just for basecoating models, it's such a time saver.
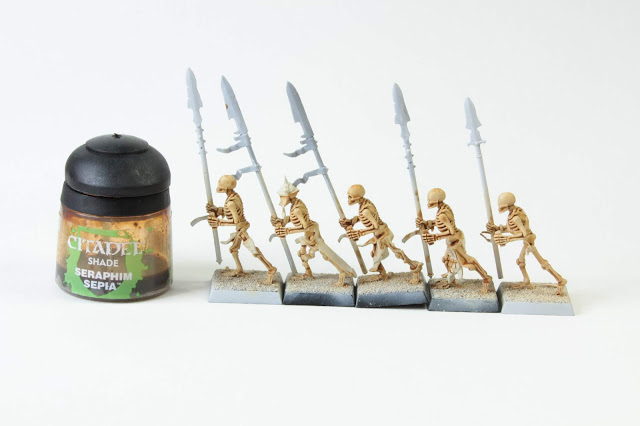
Step 2: Wash the whole model in Seraphim Sepia (GW), but don't let it pool to much. We're just looking to darken the crevices and give the bone some colour.
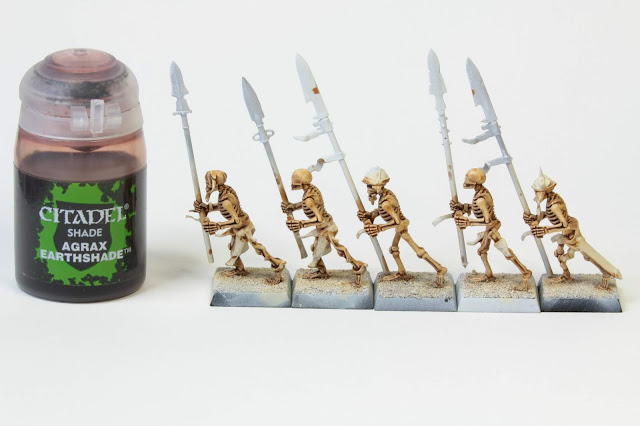
Step 3: Accentuate the deeper shadows with a wash of Agrax Earthshade (GW). Don't wash the whole model this time, just pick out the areas that need to be darker, like the eye sockets, mouth, ribcage, between the long bones of the arms and legs, and the hands and feet. Be careful not to eliminate the sepia colour from the raised parts of the bone.
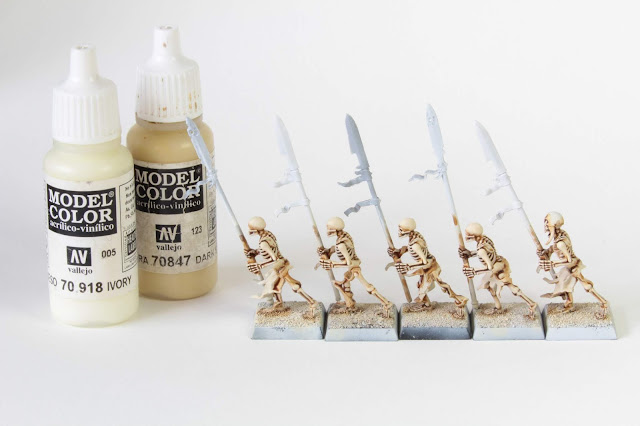
Step 4: Layer Vallejo Model Dark Sand onto the raised portions. You want to avoid the deep recesses (obviously) but also leave some of the sepia around the recesses to get a gradient from dark brown through sepia to the yellow. It'll take a couple of coats, but I'm not looking for perfect coverage as I want to let some of the sepia show through the Dark Sand - especially towards the edges of where I apply this paint. I think this makes the colour more complex and pleasing to the eye.
Step 5: Highlight with a mix of Dark Sand and Ivory (both Vallejo Model colours) somewhere between 2:1 and 1:1 - I'm not too fussy about the exact ratio and I play around with it until I get an off-white colour that is clearly lighter than the Dark Sand but isn't so light that the transition looks wrong. Focus the highlights on the more raised areas. I usually do this in two coats, but as in step 4 I'm not looking for perfect coverage. The centre of the highlights should be the brightest but even here your highlight shouldn't be completely opaque - i.e. if you applied another coat of this highlight it would appear brighter, but stop before this.
The skull is the exception here - as it's the largest flat surface of bone, it needs thinner paint for highlighting and an extra coat or two to achieve a nice transition.
Step 6: Another highlight using the same paints, but this time with more Ivory - a mix somewhere around 2:1 Ivory:Dark Sand. Again, I don't worry about the exact ratio, I just pick something that's light enough but doesn't create too jarring a transition to the eye. Pick out the raised areas focusing on upper edges and the top of the skull. (Use thinner paints and a couple of extra layers for the skull.) This takes a couple of coats and, again, I'm not looking for perfect opacity. I want the previous layers to show through a little bit, especially towards the edges my highlight.
Optional step 6A: Add a few extra highlights to the face portion of the skull with an Ivory/Dark Sand mix that is close to pure Ivory just to give more emphasis. I don't have a separate photo of this as it's something I do as I go along during step 6.
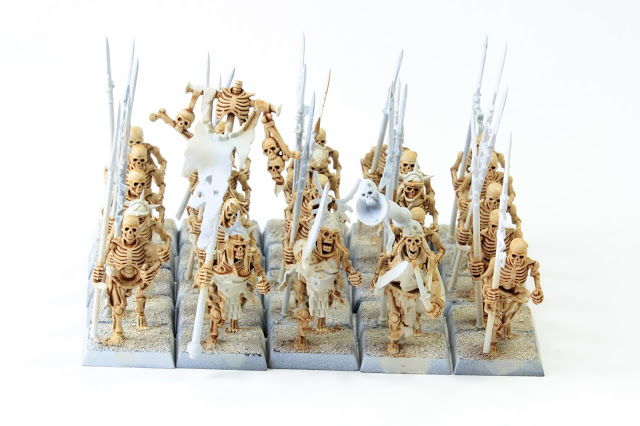
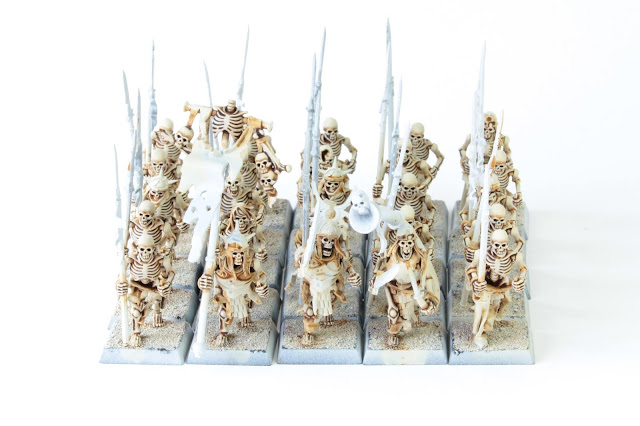
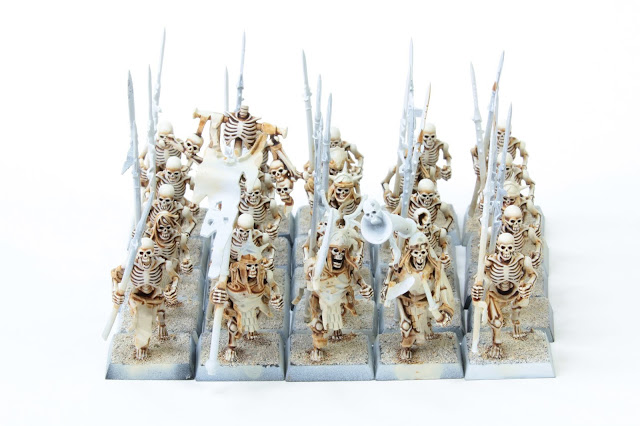
And that's how I paint my skeletons, or, at least, the bone. There's still the weapons, cloth, etc. to do. I did say it was a slow process. The main reason I've stuck with this recipe (because half way through I really started to consider drybrushing) is because I have 25 skeletons already painted and wanted these guys to match. If I start another army with a lot of skeletons I probably will resort to drybrushing because this takes ages. However, it's still a really good recipe if you just have some nice bone details you want to give a bright, bleached look. My advice would be to just take a little more time and maybe add a final highlight on the very brightest points that is very close to white.
Until next time, happy painting!





No comments:
Post a Comment